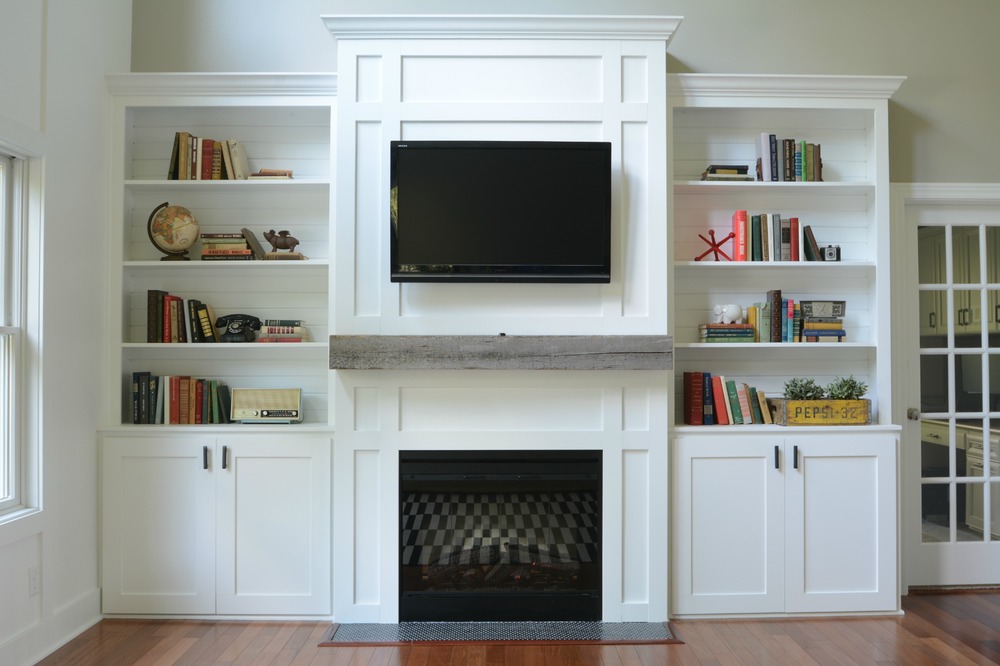
DIY Built Ins
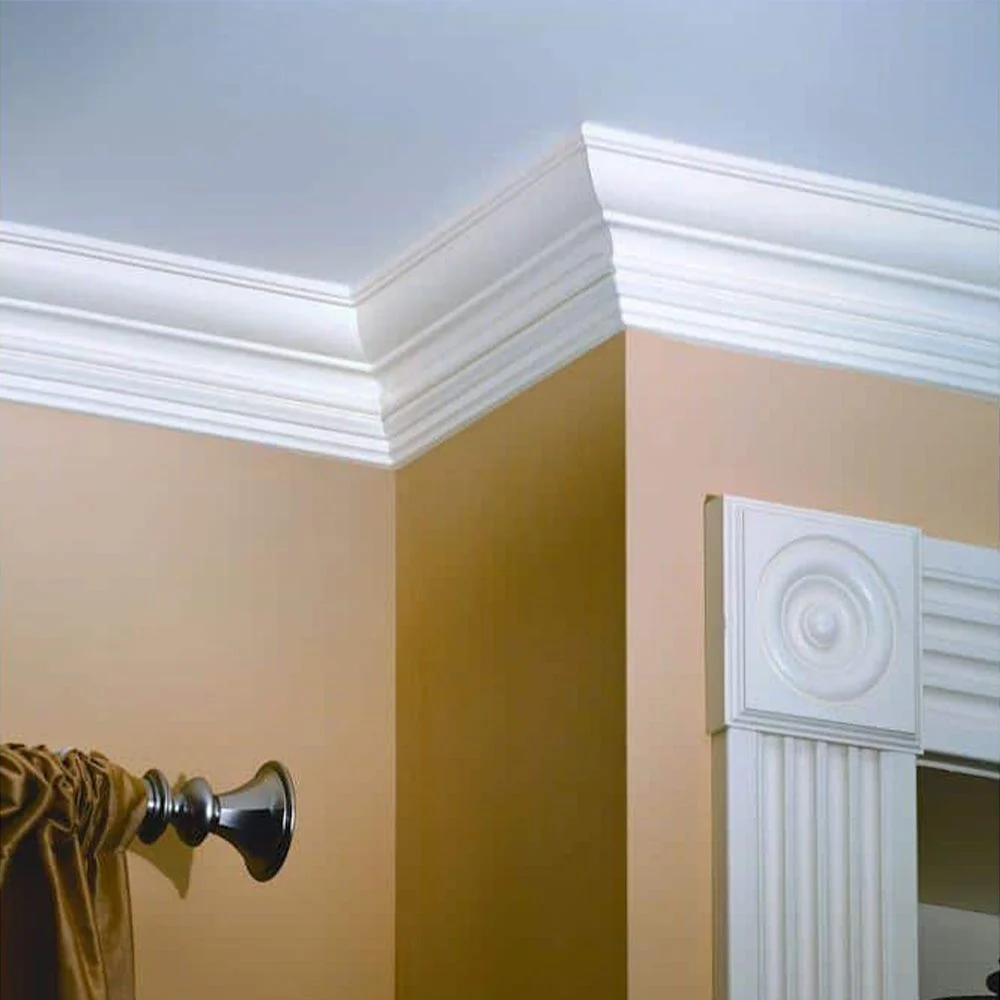
Crown Moulding
Adding in crown moulding, and also baseboards, can really take a project from looking like you’ve done it yourself to a completely professional look. Baseboards cover up any framing you might have added, and crown moulding elegantly covers up any gaps. Just make sure to align the crown moulding to the edge of the frame so that it blends flawlessly rather than looking like two separate pieces.
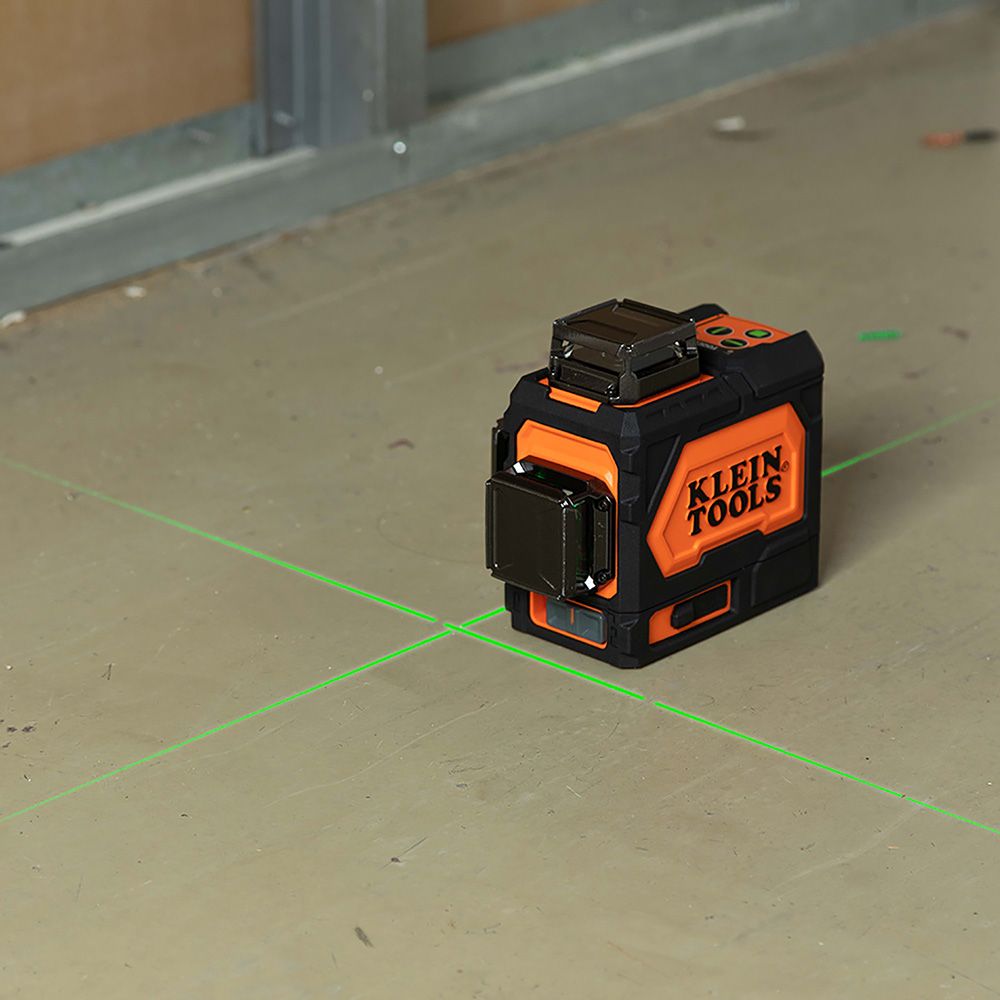
Laser Level
Using a laser level instead of a bubble level will allow you to check whether things are level for much larger distances, which really comes in handy when installing cabinets and making sure that they’re all aligned. The same goes for when you’re adding in hardware.
Laser Level
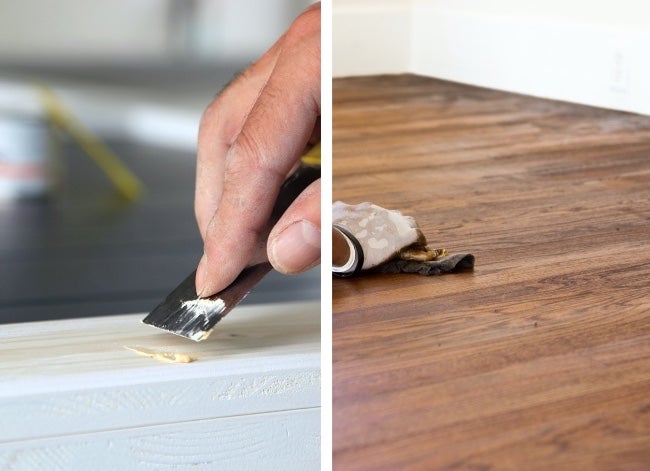
Wood Filler
Shelf holes are one of the biggest giveaways for pre-fabricated pieces. While they’re perfect for customizing drawers and shelves, but the holes are such an eyesore if left in the final product. You can fill them up with hole plus, but paintable wood filler is a much better solution. Wait until the filler has fully dried, about 24 hours, and then you can paint over the filler or sand it down to blend it completely.
Wood Filler
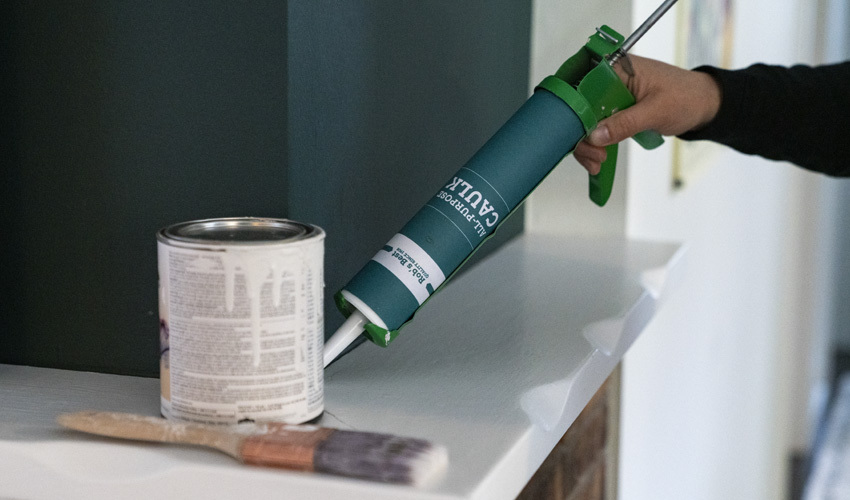
Paintable Caulk
Using caulk is great to fill in gaps and a lot of DIY work forgets to utilize it. If you do end up using caulk for the final touches, make sure you get paintable caulk so that you can match it to your final paint color. Make sure you use the caulk in between the ceiling and crown moulding, baseboards and the frame, and also shelving and the frame.
Paintable Caulk
Shellac-Based Primer
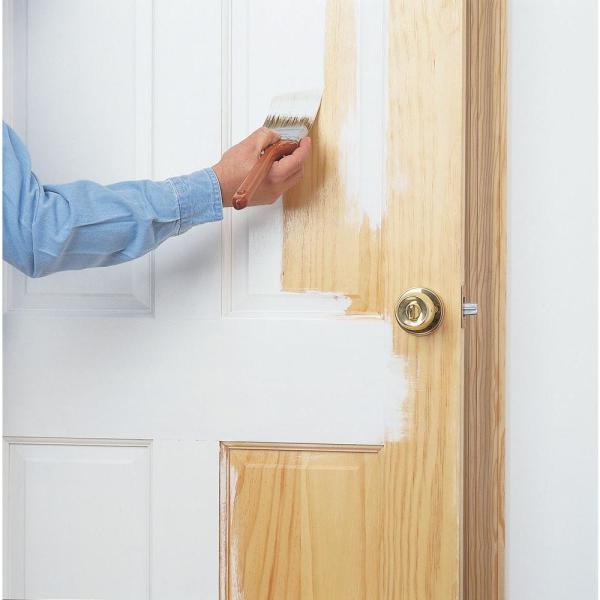
Make sure you never skip priming, even though it might seem like an unnecessary extra step, especially if you’re using 2 in 1 paint. However, primer will help the finish last much longer. You can get shellac-based primer to use with factory finished frames, like the ones you’d get at Ikea.
Shellac Based Primer


