What You Need
Find mudcloth inspiration patterns that you like. You can browse the patterns here and then print out the ones you want to use.
First Method: Tracing
Tracing lets you be more precise with your design choice. You can also use multiple colors this way!
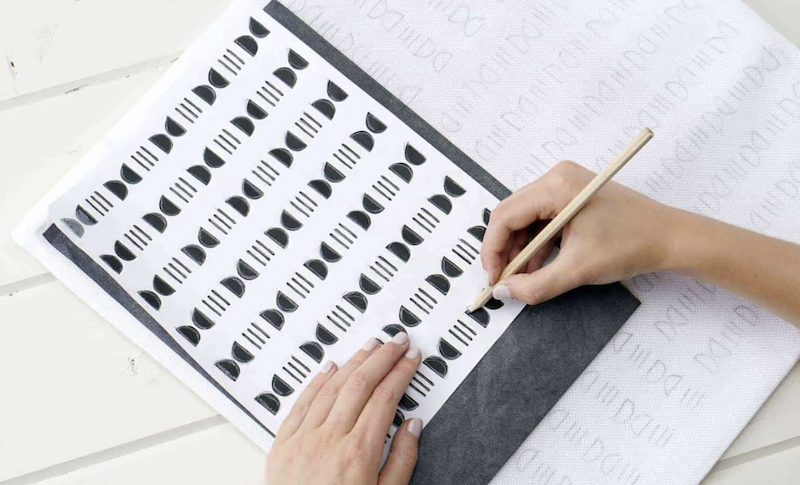
Trace Desired Pattern
What You Need
-white pillowcase
-pillow insert
-cutting board
-printable pattern
-carbon paper
-pencil
-fabric pen
Begin by positioning you cutting board, pillowcase, carbon paper, and printed pattern in a way that will allow you to trace the pattern with a pencil. Insert the cutting board into the pillowcase so that you have a surface to trace on. Then place the carbon paper onto the pillowcase. Layer the printed pattern on the carbon paper with the pattern side facing up.
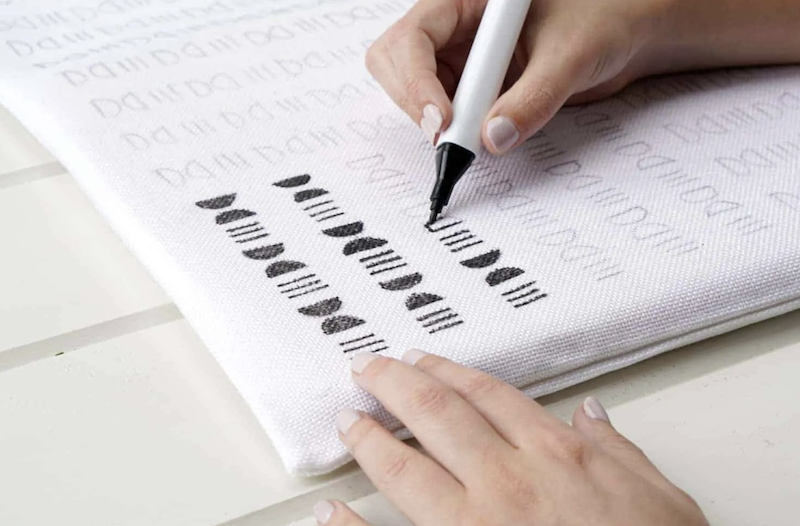
Fill In Traced Pattern With Fabric Marker
Trace over the pattern firmly but make sure not to puncture the paper. This will transfer the carbon paper onto your pillowcase. This way, you can also mix and match different printed patterns in order to make it totally your own. Repeat on the other side of the pillow if desired.
Draw over the graphite pattern with a fabric marker in the color of your choice. Next, trace over and fill in the design with permanent fabric marker. Allow the marker to fully dry before using the pillow. That’s it! Place you new patterned pillow anywhere you choose.
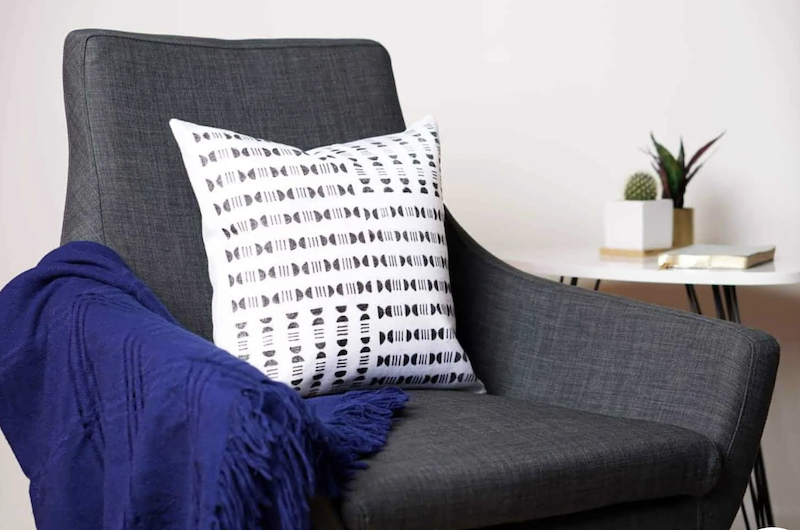
Traced Mudcloth Pillow
Second Method: Stamping
By using a stamp, you’ll better recreate the original mudcloth design. It won’t be as precise but it is much quicker and will look just as great.
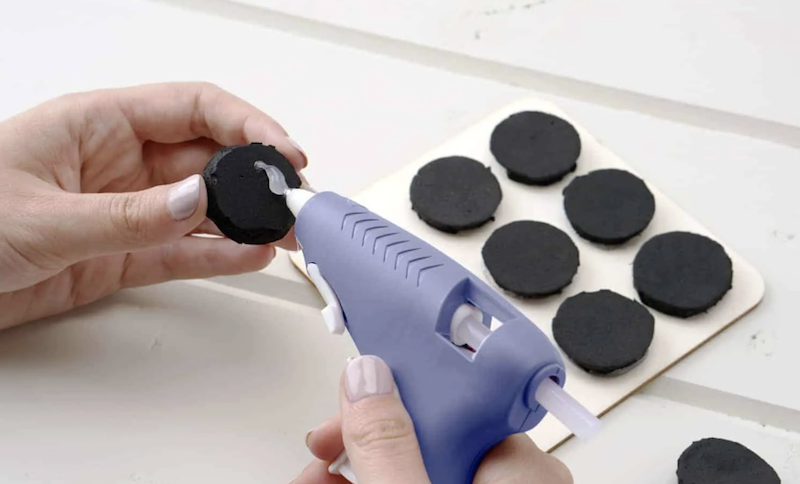
Create Stamps Using Hot Glue Gun & Foam
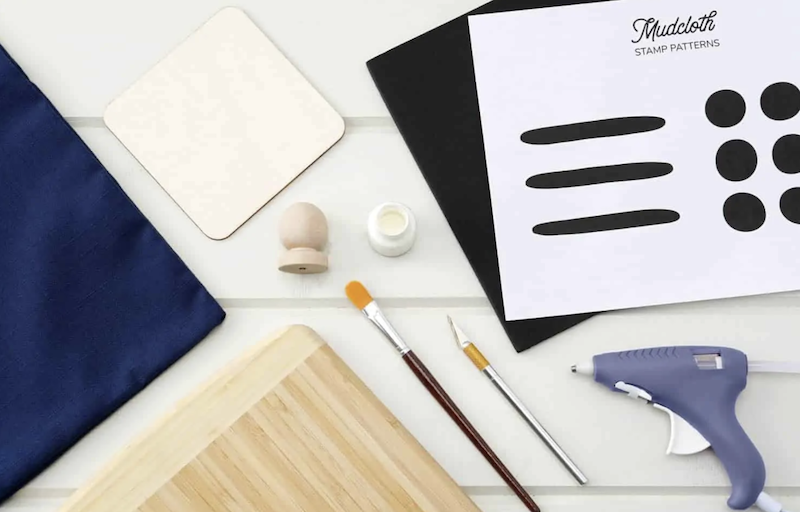
What You Need
-blue pillowcase
-printed pattern
-foam sheets
-precision knife
-hot glue gun
-craft wood
-fabric paint
-paintbrush
-wood knobs, optional
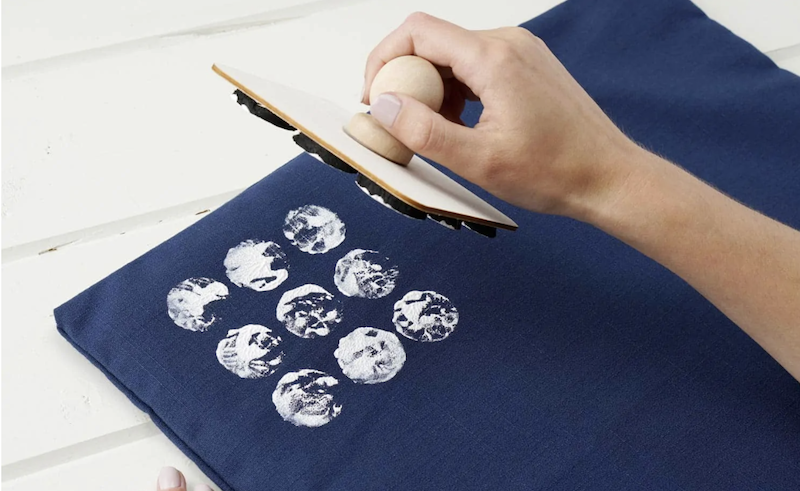
Quickly Stamp On The Paint
Start by choosing your desired pattern and place the printed design on top of the foam. Trace out the shapes using a precision knife and carefully cut out the shapes. For repeated patterns, cut out multiple copies of the foam shapes.
Glue the foam shapes onto the craft wood. If you want, add a wooden knob to the opposite side of the cube in order to create a handle that will make it even easier to hold precisely. Adhere the foam to the craft cube using a hot glue gun.
You can create as many stamps as you wish, it all depends on your desired final design.
Generously apply fabric paint on the foam stamp, making sure to layer on the paint, otherwise it will not stick to the pillow. Put the cutting board under or inside the pillowcase to provide a hard surface to work on. Press the stamp down firmly and completely, making sure to hold it in place for ten seconds. Quickly remove the stamp to avoid smearing the paint. Repeat until your desired design is achieved.
Allow the paint to dry for a full day before starting on the other side. Once the paint has fully dried, fill the pillow and place it wherever you like!
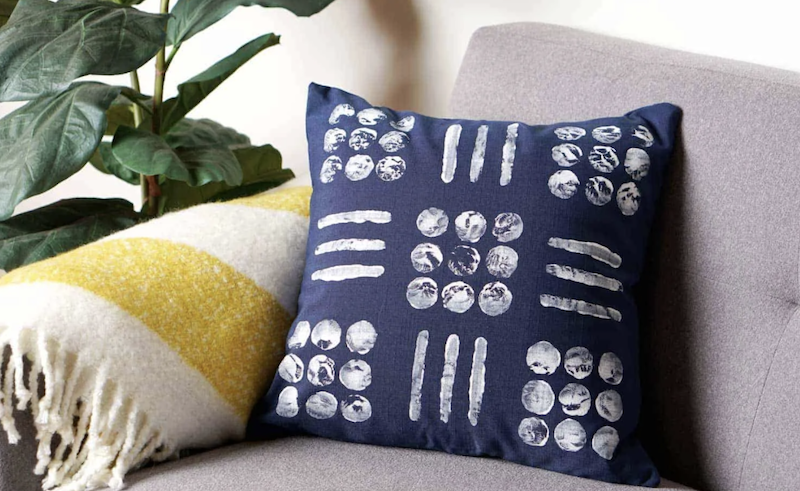
Stamped On Design