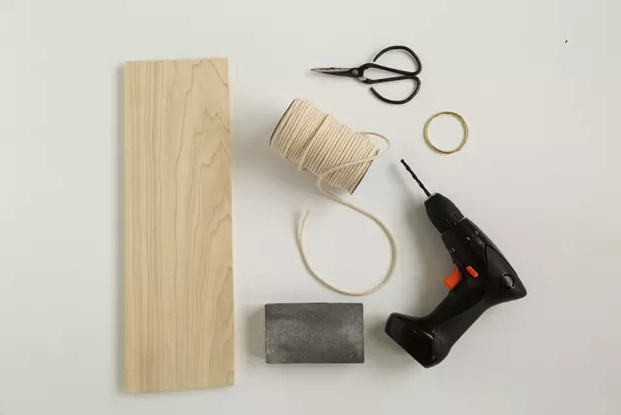
What You Need
What You Need
-wood plank (you can use poplar), 5 1/2 inch x 24 inch
-sanding block
-macrame cords
-macrame hoop, 2 inch
-power drill
-drill bit (size according to cord)
-glue gun
-scissors
Begin by trimming your wood to the appropriate size. Once you have the proper size, sand the edges to make sure they are completely smooth. Next, take your drill with the appropriately sized drill bit and create holes in the wood. Once you’ve drilled the holes, lightly sand them to make sure they’re smooth and even.
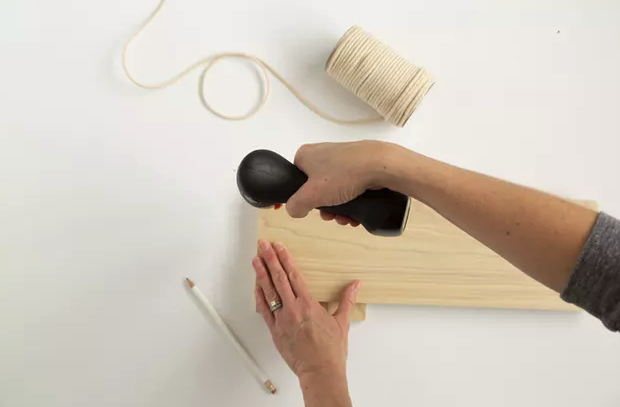
Drill Holes Through Wooden Plank
Cut two pieces of the cord to about 3 to 4 feet. Thread one of the pieces through the holes on one side, and then the second cord through the holes on the other side. Pull the cords up from the bottom.
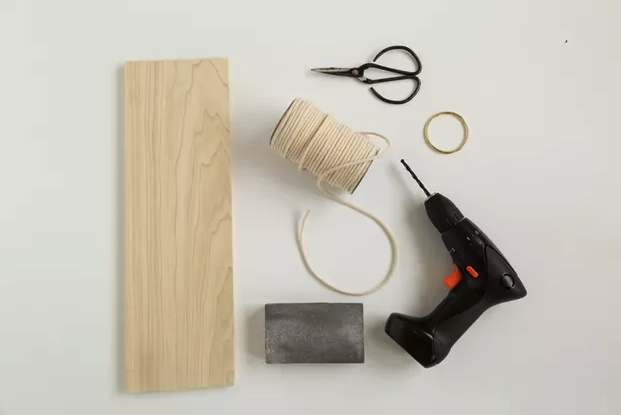
Thread The Cord Through The Holes
Pull both sides of the cord to meet at the top, making sure they are even. Loop the four pieces of the cords through the metal hoop.
Decide how long you want the shelf to hang from the hoop and then secure the cord on the ring using some hot glue. The the cords over the ring and then glue together.
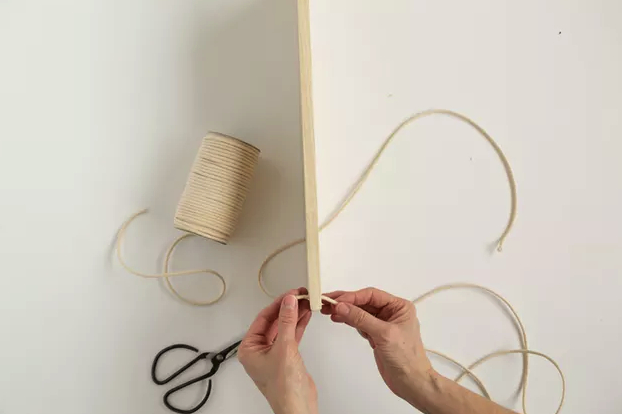
String Cord Through Holes
Wrap two pieces of the cord around the other two pieces of the cording. Repeat this four or five times until it is fully secure. Trim the ends of the cords that have been wrapped around one another.
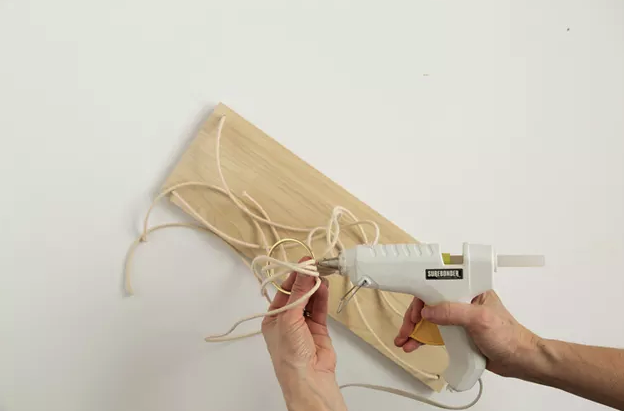
Glue Cord With Hot Glue
Wrap the end of the cord and glue it into place, making sure it’s secure. Glue on the front and back of the ends of the cord.
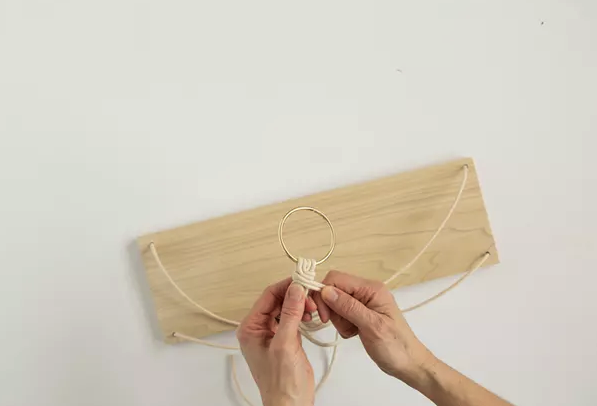
Tie Cords Together
Now you can hang the shelf and add whatever you like to it. You can even make a few and hang them to one another.
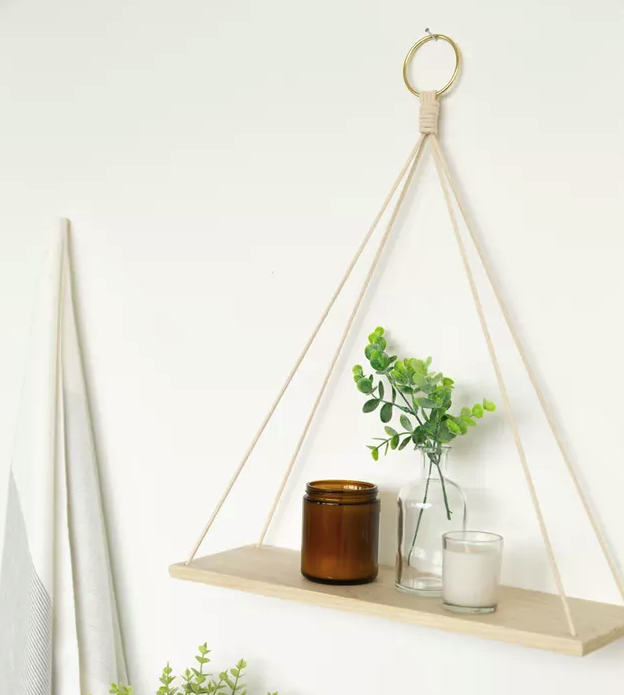
The Final Product


