DIY Plant Hanger
Things You Need
- scissors
- unfinished wood disc
- cotton cording
- 2 embroidery thread skeins
- 2 to 3 potted plants
Step 1
Gather all of your supplies and get them in order. Try to find a wooden disc that comes with a hole that is pre-drilled in order to avoid having to do it yourself. The unfinished wood provides a great look, but you can feel free to paint or decorate it in any way your wish. If you do, make sure to sand the wood before you paint.
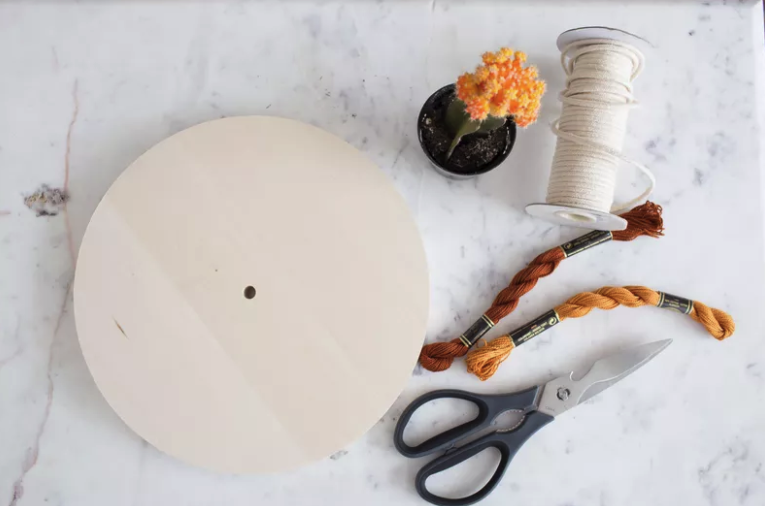
Gather Your Supplies
Step 2
You will need to use 5 pieces of cotton cording, 4 that will go on the outside of the disc to keep it in place and one that will go through the center hole that will provide overall stability to the hanger. Determine how long you want the hanger to be, while keeping in mind that shorter strings provide a more study hanger. Cut out your desired length, then use that string to help cut out the next pieces in order to ensure they are the same length. Repeat until you have 5 total pieces.
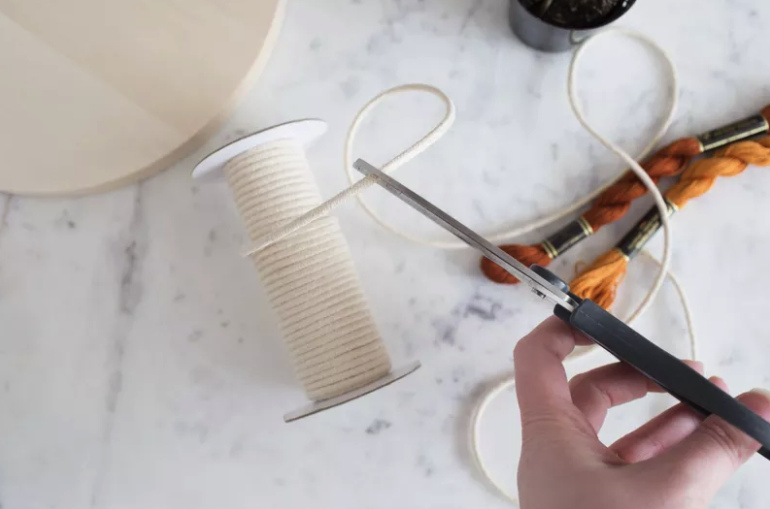
Cut Out Rope
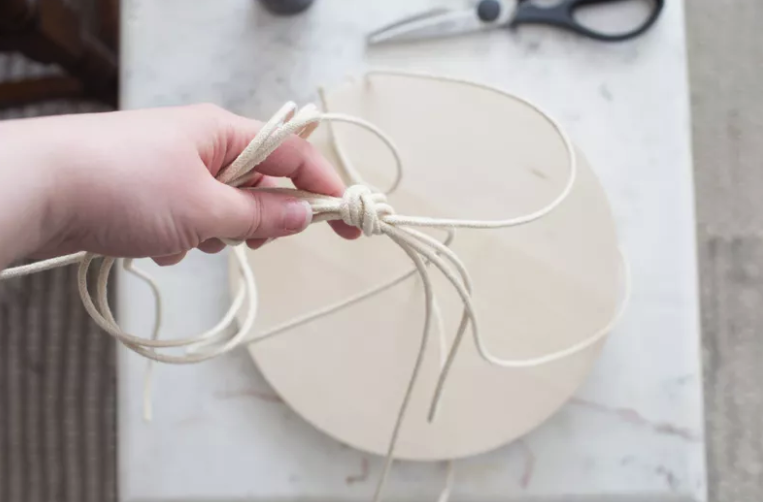
Step 3
Tie your cords together at the bottom, securing them together tightly. Now pull four of the pieces so that they are wrapped around the wooden disc and thread the fifth through the hole in the center. This string will provide added stability so you don’t have to worry about your plant baby falling.

Tie Bottom Knot
Step 4
Bring all of the pieces of string together at the top and decide where you want to hang your planter. The amount of space you want to have between the top knot and the disc will vary depending on how large your plants are and how much room you have in order to hang the planter. You can also leave some room in order to add some decorative threading under the knot. Press down on the wood disc to ensure that it is sitting flat on all of the strings and that it is not slanted from one of the strings being longer. Finally, knot the strings together at the top.
Tie Strings Together At Top
Step 5
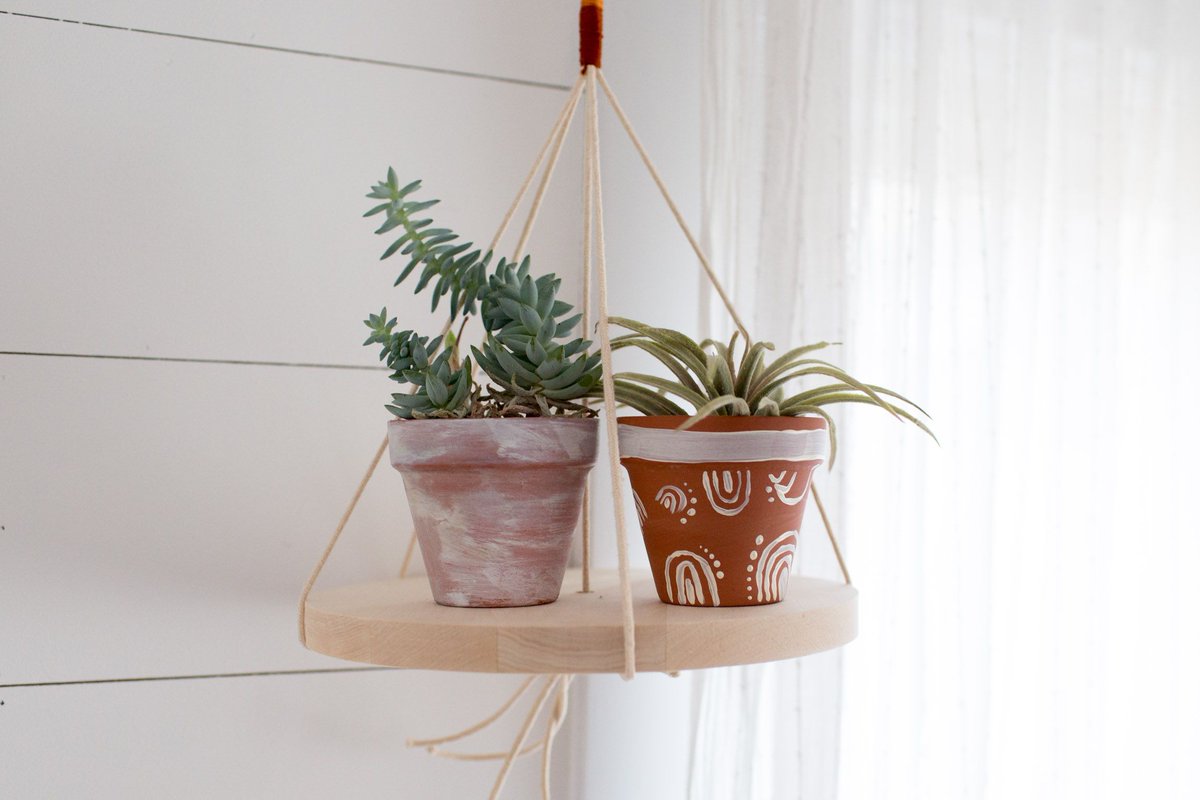
This is when the fun begins! You can add fun decorative touches by wrapping embroidery thread around the top knot (make sure to do it below the knot). You can get as creative as you want here, and add as many colors as your wish as well. Now you are free to hang the plant hander on a c-hook from the ceiling or even a trim. Make sure your planter is balanced by placing two plants of equal size on the hanger. Enjoy your beautiful DIY plant hanger!

Add Decorative Embroidery