
String Art
What You’ll Need
-string art template printed on paper
-wooden slab
-mini nails
-hammer
-embroidery thread
-scissors
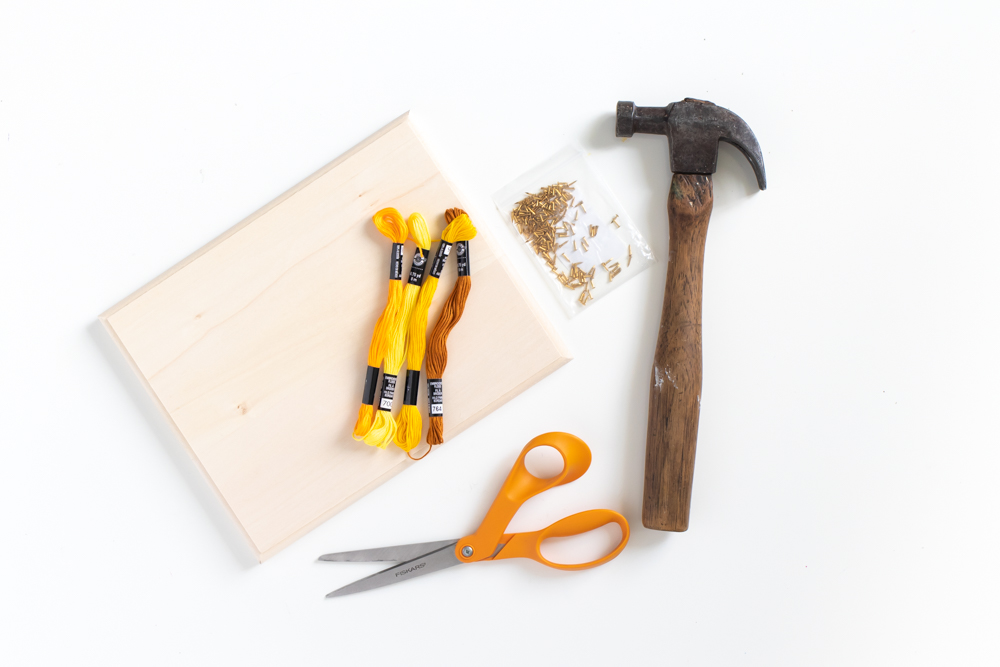
What You’ll Need
Start off by printing your template out and placing it onto the wooden slab. Tape it on so that it doesn’t slip off while you’re working on it.
Take a hammer and adhere a nail onto each one of the dots on the template. Hammer in each of the nails only halfway into the wood so that they’re secure but will still allow for string to be wrapped around them in order to create the graphic street art. It’s okay if they nails aren’t totally straight.
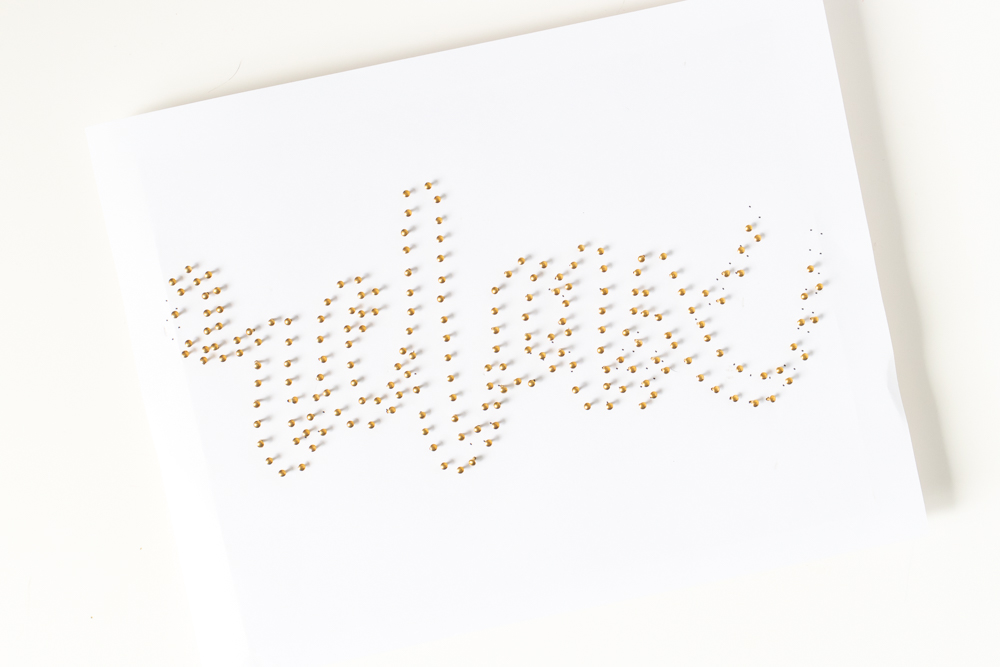
Hammer The Nails On The Template
Once all of your nails are hammered in, carefully remove the template paper by tearing it out. Make sure you do this gently so you don’t end up accidentally ripping out any of the nails.
Starting at one of the ends of the text, knot the end of one of the threads a few times around the nail and them trim off the tail. Start wrapping the embroidery thread from one nail onto the next, continuing by creating a web.
When you’re about 1/4 or 1/3 of the way across your design, add your second color by knotting the second thread onto a nail in the middle. Overlap the colors before you finish tying off the first thread. Continue until you’re done.
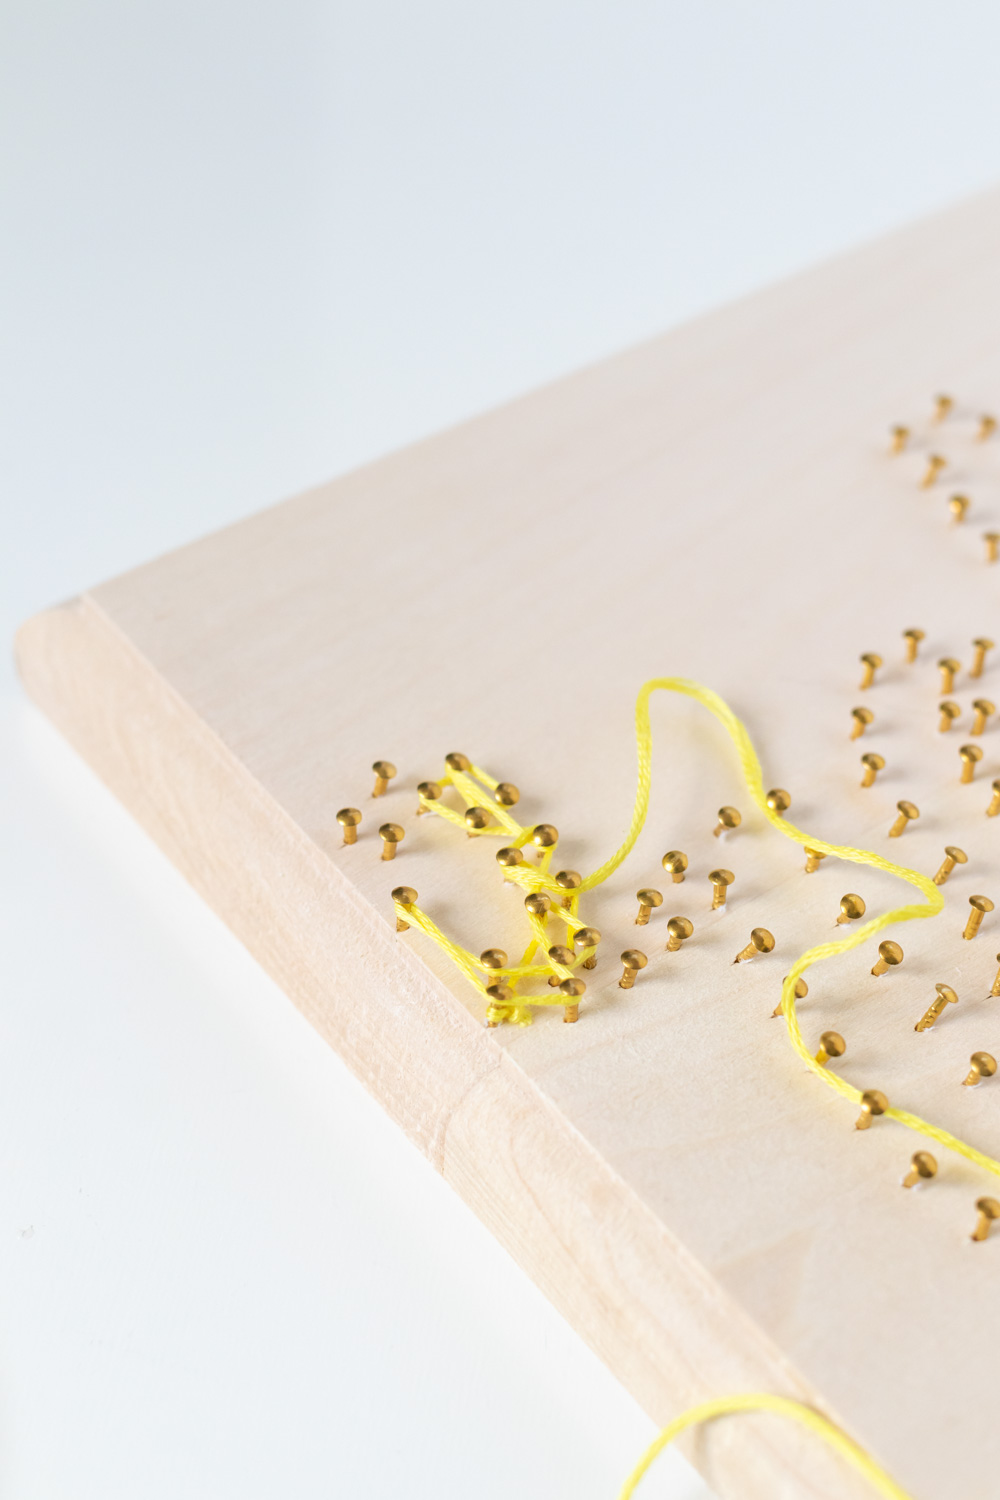
Wrap The String Around The Nails
You can add as many colors as you want until all of the nails have been covered in embroidery thread. Now your lovely graphic string art is ready to be displayed.

Make Your Own Graphic String Art


