Arts and crafts is one of the best ways to spend time with your kid. Not only will your child learn tactical skills and explore his or her creativity, but you’ll work together, effectively building teamwork and collaboration skills for your child.

Crafting doesn’t always have to create final products that are static decoration pieces, but you can also make creations that your child can continue to play with afterwards.
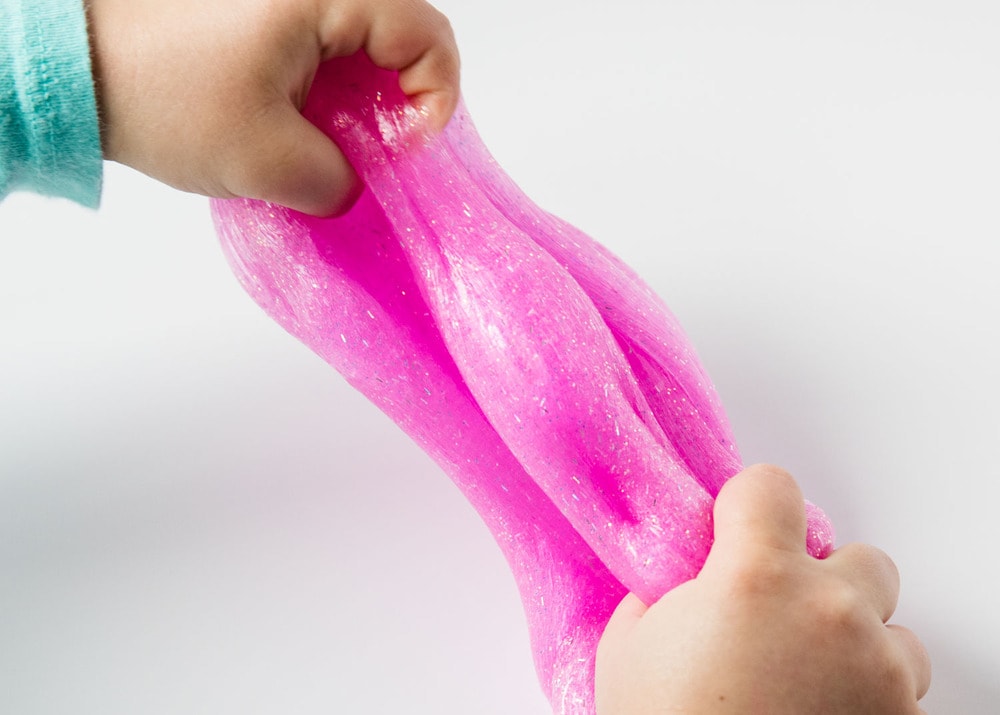
Case in point: slime. Every kid absolutely loves slime, so why not make it together? Slime is easy to make and is so inexpensive, it’s the perfect craft to take up!
Here’s an easy DIY guide, requiring just 3 ingredients, that will help you have some fun with your child this weekend and that will keep your kid entertained for hours on end.
The secret to making the easiest slime ever is buying glitter glue! Elmer’s carries glitter glue in several different colors, so let your kid choose his or her favorite and start the fun.
What You’ll Need
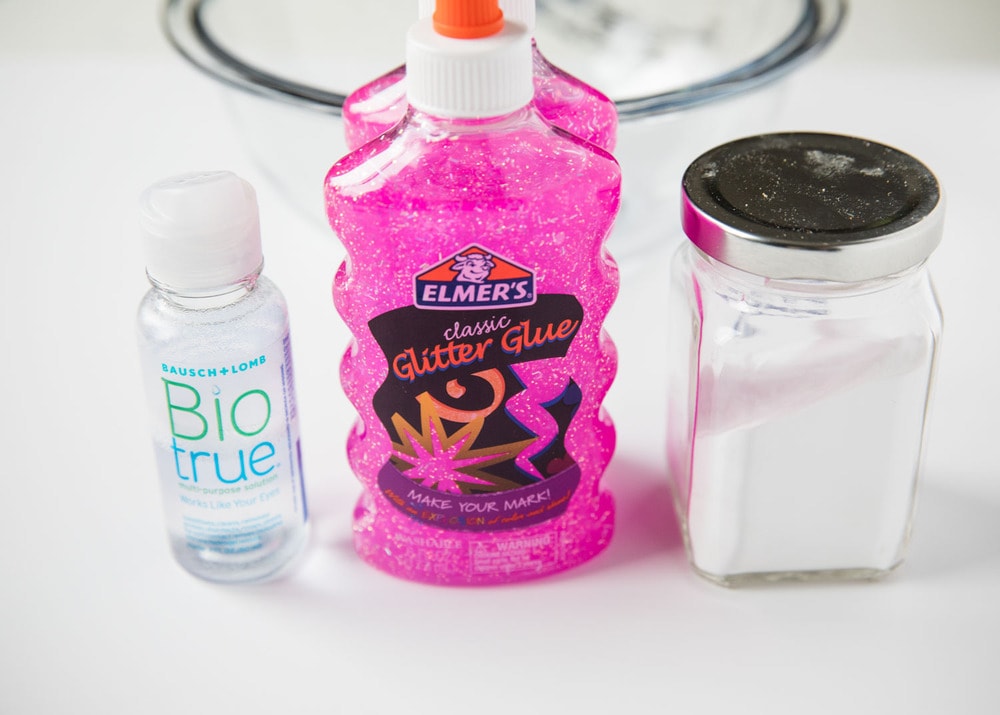
- 12 oz glitter glue
- 1 tablespoon baking soda
- 2 tablespoons contact lens solution

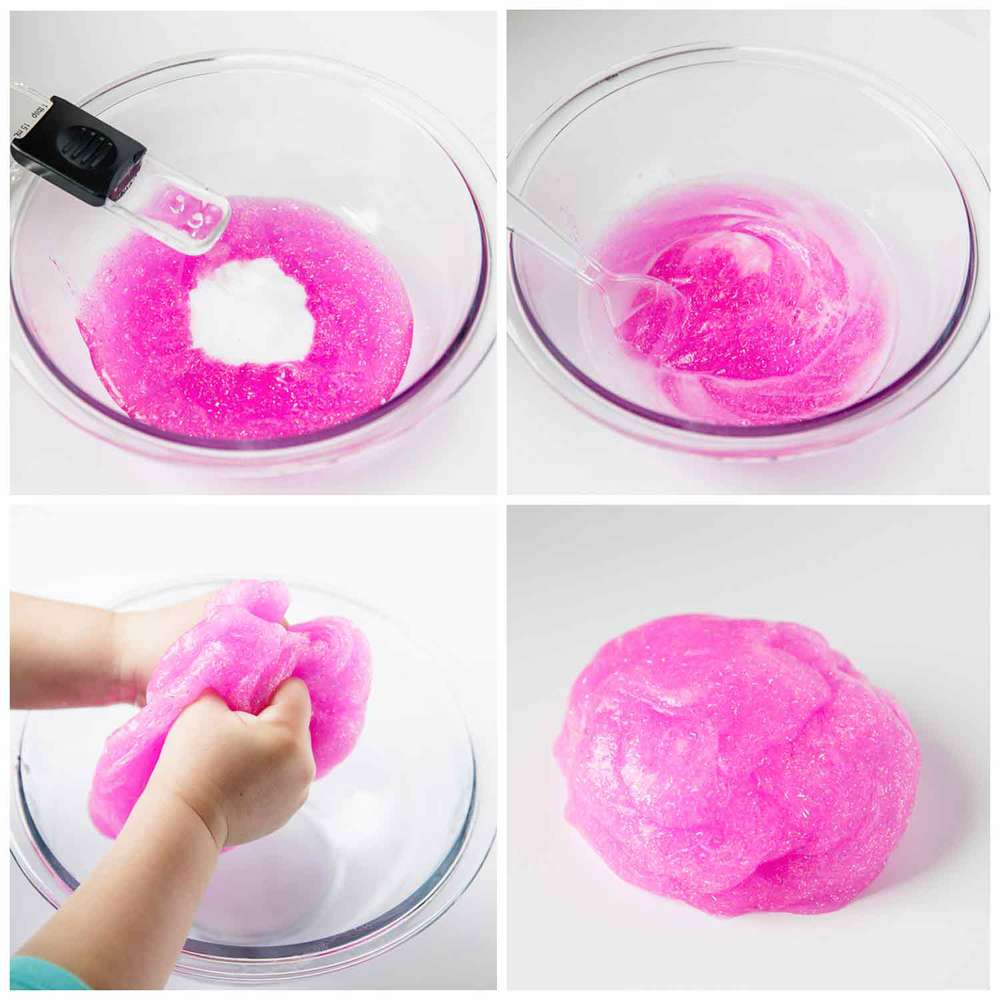
First, pour the glue into a bowl and create a small “crater” in the middle. Pour the baking soda into the middle. Next, add the contact solution and begin mixing everything together. You might notice some leftover liquid in the bowl, make sure to incorporate this into the mixture.
This is easiest when done with your hands, so dive right in and have some fun with it! This should take about two minutes total, so don’t give up right away if you don’t see it taking shape immediately. You’ll know your slime is ready when the mixture is no longer sticky and forms one big glob!

Some Tips
If the slime gets stuck in your child’s hair, don’t worry–just rub some olive or coconut oil on it and comb it out.
To store the glitter slime, simply place it in a Ziploc bag or a container with a lid. Our advice is to store it in the kitchen, so you won’t find glittery slime throughout the rest of the house!
Enjoy!


